

So you have a PanelView Plus 7 and want to enable its Web Server?
Well in today’s article I’ll show you step-by-step how to use the PanelView Plus Configuration Menu to do just that.
Step 1) Power on your PanelView Plus and return to the main configuration menu as shown below:
 Note: If you don’t know how to get back to the main configuration menu, check out my previous article on that topic:

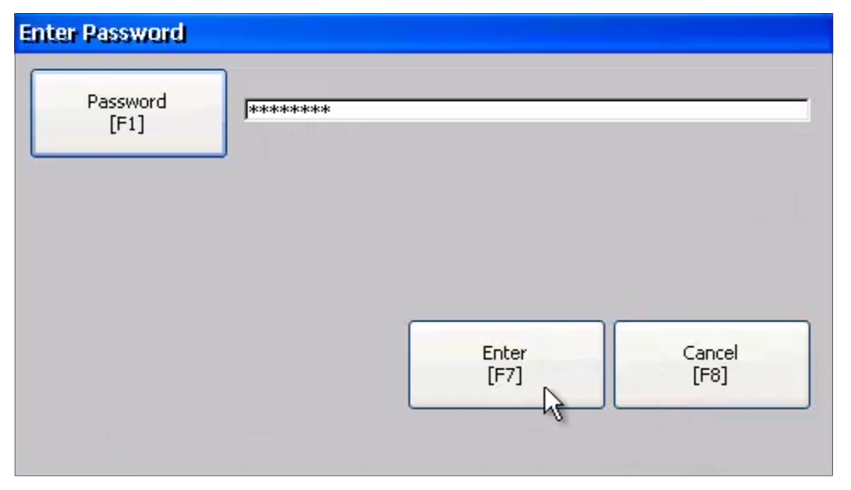
Step 2) Select Exit from the main menu, and if prompted enter in the Desktop Access password, after which you should return to the Windows CE Desktop:

Step 3) Now select Start, Settings, and Control Panel:

Step 4) Next, in the Control Panel select Services near the bottom left:

Step 5) Now in the Services screen, select Web Server to turn it on and make it change from Red to Green. Then select Done to close the Services screen:

Step 6) Next select Server Config from the bottom left of the Control Panel:

Step 7) Now select the Web Server Tab and make any changes you need to make to the configuration.

Step 8) When done, select the OK button on the top right of the Network Server Configuration window. Then Yes if prompted to restart services. At this point the Web Server on the PVPlus 7 will be running:

Question: Did you Find this article helpful? If so, please share it with co-workers and colleagues, and for more articles about the PanelView Plus click on the link below:
You can watch a video of the above procedure in the below video(s):
I hope you found this article helpful. If you have any questions please feel free to post them at TheAutomationBlog.com/join
Until next time, Peace ✌️
If you enjoy this episode please give it a Like, and consider Sharing as this is the best way for us to find new guests to come on the show.
Shawn M Tierney
Technology Enthusiast & Content Creator
Eliminate commercials and gain access to my weekly full length hands-on, news, and Q&A sessions by becoming a member at The Automation Blog or on YouTube. You'll also find all of my affordable PLC, HMI, and SCADA courses at TheAutomationSchool.com.
I'm a lifelong Technology Enthusiast who began programing in the early 80's on the Apple II and VIC-20 personal computers. After earning a degree in Electronics, I worked as a Certified Controls and Information Automation Specialist for 25 years before leaving to become a full time Industrial Automation instructor and mentor at TheAutomationSchool, as well as publishing industry interviews, news, and product how-to’s at TheAutomationBlog.com. If you're interested in my training, mentoring, or becoming a sponsor, please schedule a teams meeting with me via https://calendly.com/shawntierney/business-meeting
Latest posts by Shawn Tierney (see all)
- What’s New & Next at Insights - May 5, 2025
- First Look: Siemens S7-1200 G2 – Unbox, Wire, Program (S2E13) - April 17, 2025
- MaintainX: Prevent Unplanned Downtime (P236) - April 9, 2025


You must be logged in to post a comment.