So you’ve received a new laptop running Windows 7 Professional, but still need to run legacy XP programs?
Well, you’re in luck. Microsoft makes available to you free of charge a Windows XP virtual machine, and in today’s article we’ll show you how to get it up and running.
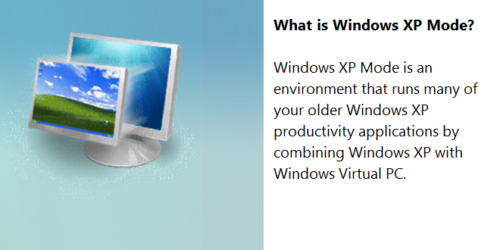 Part 1: Downloading and installing Windows Virtual PC
Our first step will be to download and install a free copy of Microsoft’s Virtual PC, as it’s required to run XP Mode.
Step 1) To get Virtual PC, start by clicking on the below link:
Step 2) This will bring you to the Microsoft Download center as shown below:
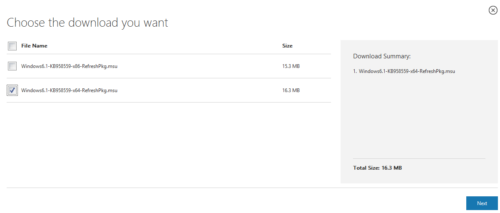
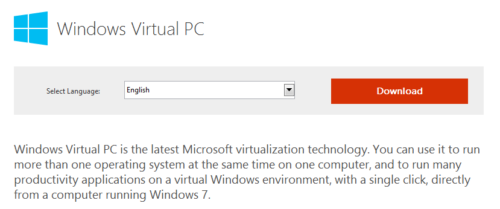 Step 3) Next, click on the “Download” button, select either the 32 or 64 bit version, and press “Next”:
 Step 4) Now choose a location you’ll remember to save the download file to:
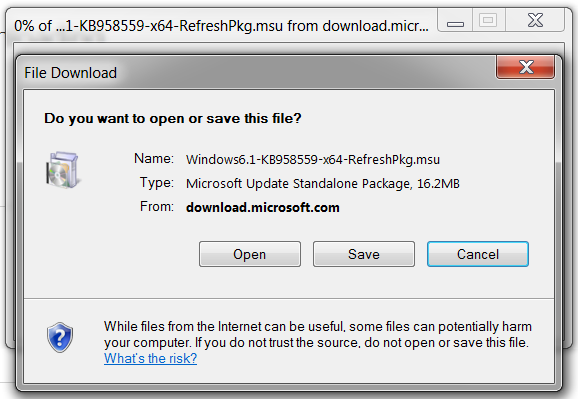 Step 5) When the download completes select “Open”:
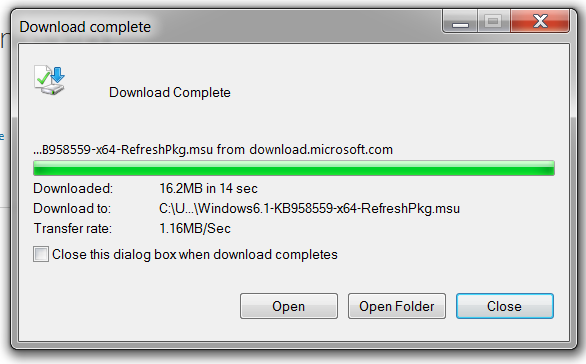 Step 6) If you received a security warning select “Allow”:
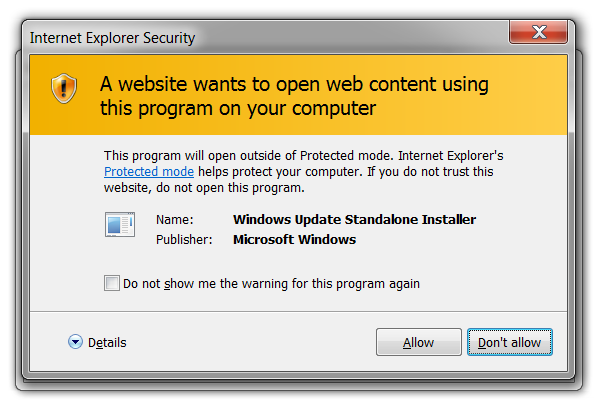 Step 7) Now press “I Accept” to continue:
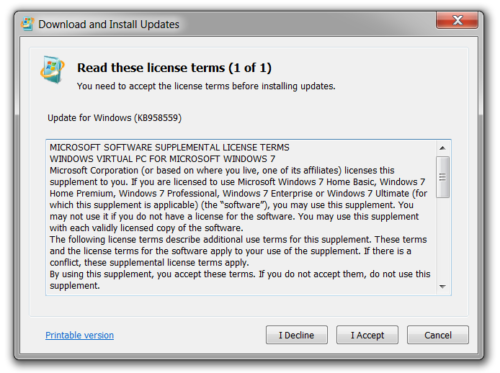 Step 8) This starts the installation process as seen below:
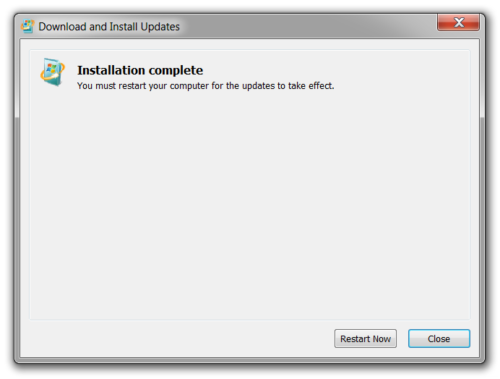
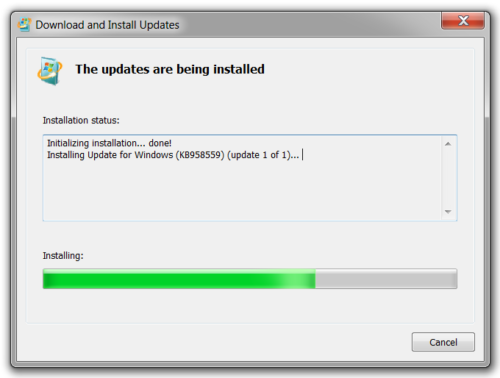 Step 9) When the installation is complete, you’ll need to restart your PC before you can use Windows Virtual PC:
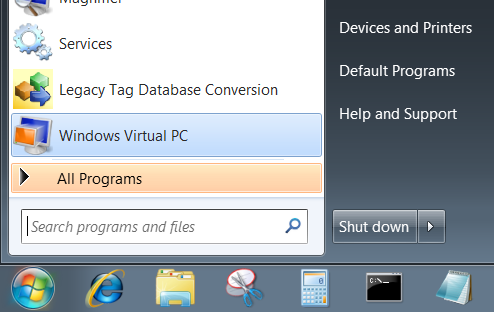
 Step 10) Now that you have Windows Virtual PC installed, you’ll find it in your Start Menu Programs as shown below:

Part 2: Downloading and Installing Windows XP Mode
Now that you have downloaded and installed Windows Virtual PC, the next step is to download and install Windows XP Mode.
Step 1) Start by clicking on the download link below:
Step 2) Next, click on the “Download” button:
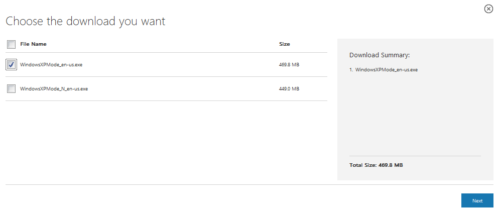
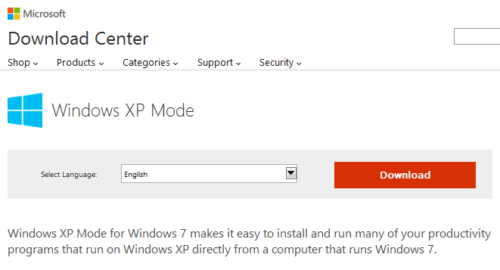 Step 3) Now select the version you want, and click on “Next”:
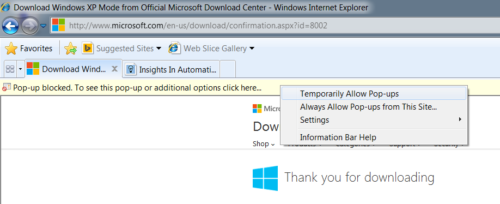
 Step 4) At this point you may get notice that a popup has been blocked. If you do, unblock it:
 Step 5) Now save the installation file to an easy to remember location:
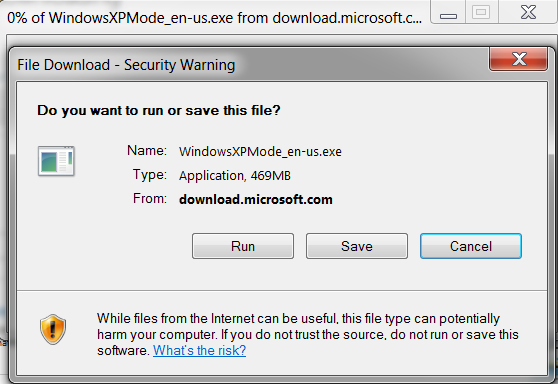 Step 6) Once the download finishes, select “Run”:
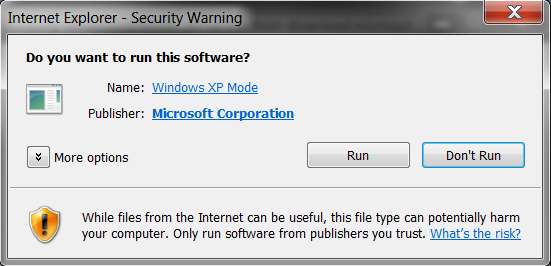
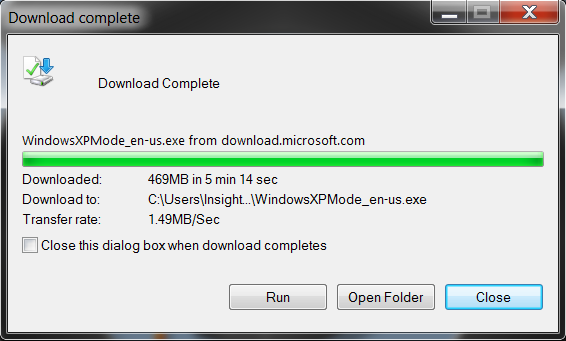 Step 7) If you receive a security warning, select “Run” again:
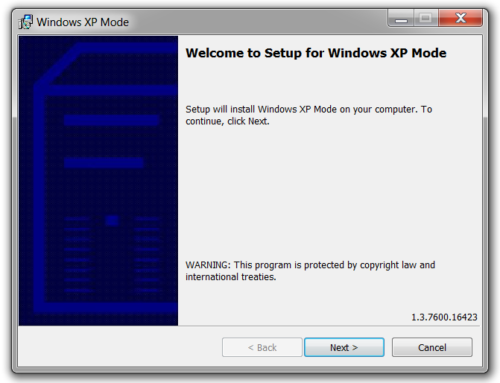
 Step 8) Now you will see the Windows XP Mode setup window. Start the installation by selecting “Next”:
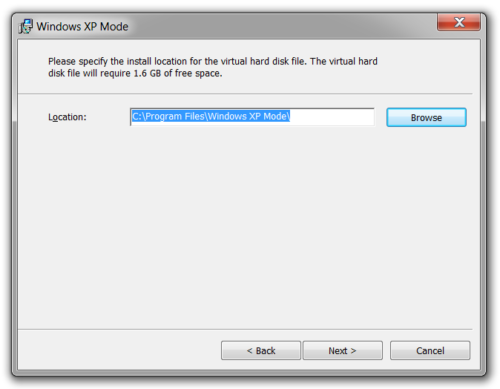
 Step 9) Choose an installation path and choose “Next”:
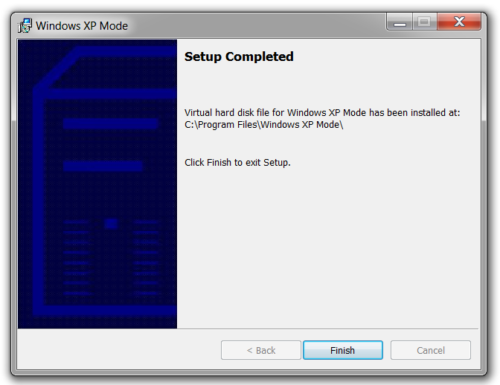
 Step 10) Once setup completes, select “Finish”:
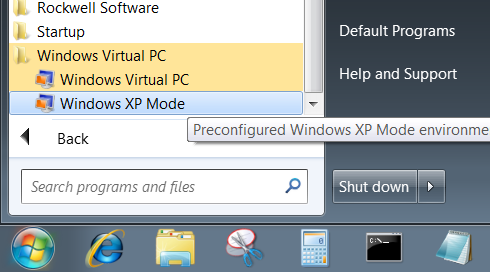
 Step 11) Windows XP Mode will now show up in your Start Menu. Launch it to continue the setup:
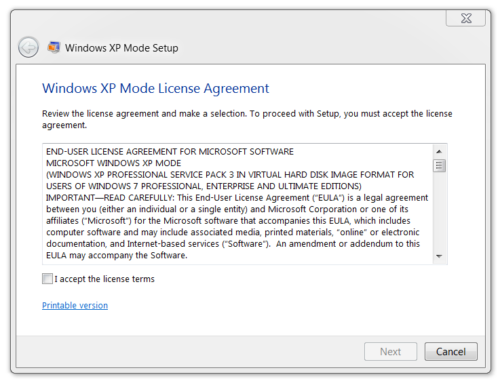
 Step 12) Check the “License Terms” checkbox, and press “Next”:
 Step 13) Choose a password for your login, and press “Next”:
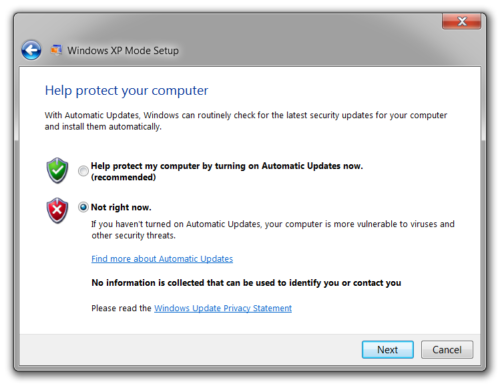
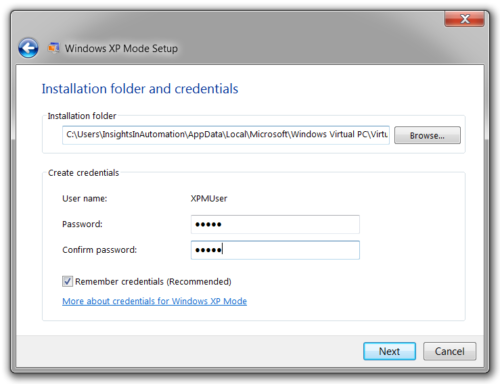 Step 14) Selection “Not right now,” and press “Next”:
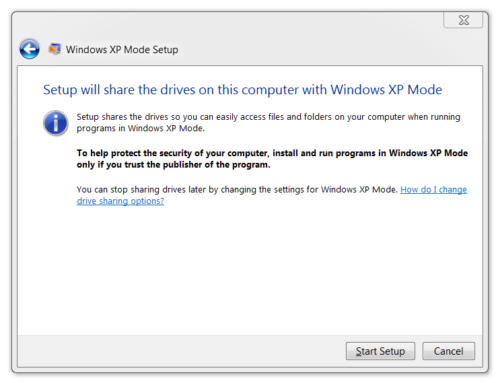
 Step 15) Now click on “Start Setup”:
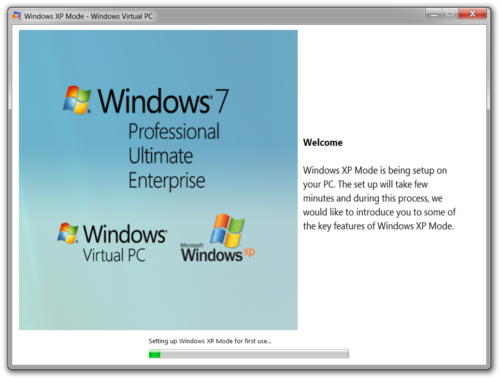
 Step 16) While setup progresses a short tutorial will be shown:
 Step 17) Once done initializing, Windows XP Mode will launch and you’ll now see a virtual Windows XP desktop. At this point you can install your legacy software onto Windows XP Mode:
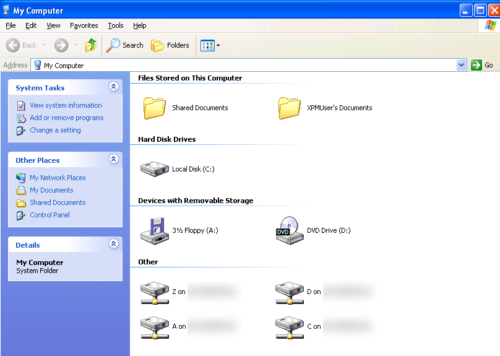
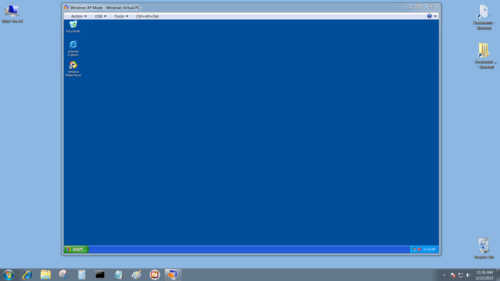 Note: Windows XP Mode automatically maps your Windows 7 drives and storage devices to allow you easy access to your installation files.
I hope the above article on how to download and install Windows XP Mode was helpful.
If you have any comments, questions, or suggestions, please don’t hesitate to leave them with us by filling out the “post a comment or question” link below
Until next time, Peace ✌️
If you enjoyed this content, please give it a Like, and consider Sharing a link to it as that is the best way for us to grow our audience, which in turn allows us to produce more content 🙂
Shawn M Tierney
Technology Enthusiast & Content Creator
Support our work and gain access to hundreds members only articles and videos by becoming a member at The Automation Blog or on YouTube. You’ll also find all of my affordable PLC, HMI, and SCADA courses at TheAutomationSchool.com.
- FactoryTalk Design Workbench First Look, CCW Comparison - December 19, 2025
- Drew Allen of Grace Technologies on Automation, Safety, and More (P256) - December 17, 2025
- Robotics in Warehouse Automation with Erik Nieves of Plus One Robotics (P255) - December 10, 2025

Discover more from The Automation Blog
Subscribe to get the latest posts sent to your email.


I’m trying to install RSLogix5000 20.03 in XPMode under Win7 but it fails to configure MSXML.
Just FYI – You can see Larry and my conversation about the MSXML work around in the comments here:
https://theautomationblog.com/rslogix-5000-and-studio-5000-support-for-windows-xp-7-8/
Shawn Tierney
[sc name="stsigcom"]
I just ran into your other post. I’m reading through it now.
Good afternoon controlsgirl,
I usually just verify I can ping my host’s PC name from within the VM. Then I add that PC name in FT Actiavtion Manager and refresh it.
Please let us know how you make out,
Shawn Tierney
[sc name="stsigcom"]
Want to go through mapping the licenses from the host machine? I did it originally through the LAN adapter that I connected and then that stopped working. I got online with Rockwell tech support and luckily stumbled upon someone who seemed to know what he was doing. He had me set up a loopback adapter. For some reason or another I screwed up that Virtual PC so I created another one. I’m sure I remember all of the steps and followed them correctly but it’s not working this time around. I’ve googled and googled and everything seems to be right..Any help?