Sometimes it’s hard writing PLC code in LAD (ladder logic) or FBD (function block diagram). Especially, if you have to do some math work or mass operations.
In these cases you can easily use SCL/ST (Structured Control Language/Structured Text.)
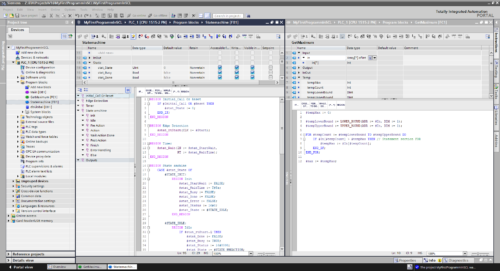 Writing your first TIA code in SCL:
Step 1 – Create or open TIA project
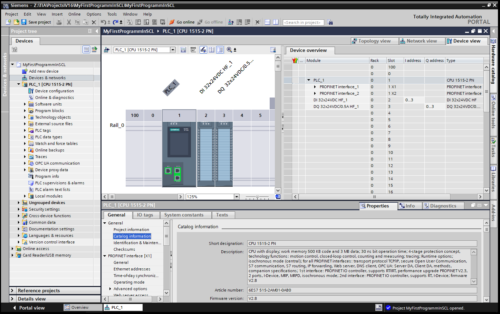
Just like programming LAD or FBD, it’s necessary to create or open a project with a PLC to program in. SCL is supported by all SIMATIC PLCs (S7-300, S7-400, S7-1200 and S7-1500).
In this example, I’ll use a S7-1515-2 PN, but it will also work with other S7-1500 or S7-1200 PLCs.
Step 2 – Add FB/FC
After the project is opened and a PLC is available, we can add a function [FC] or a function block [FB]. The difference between FC and FB is the storage capability. A FB can store data which is still available after a PLC cycle. In our case we only need a FC.
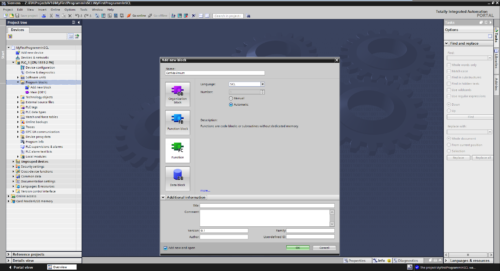
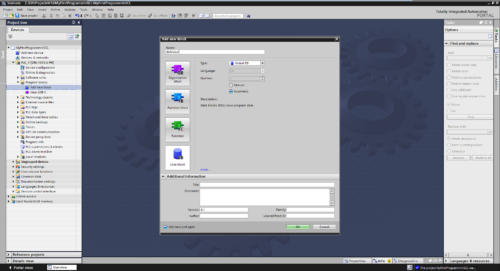
Double click “Add new block” within the “PLC/Program blocks” folder. Now the “Add new block” dialogue is opened. Here we can select the block type to create, in our case FC.
After the block type is chosen, we have to select the language to program in. The drop down list will show all possible programming languages available for the selected block type in combination with the PLC type. We will use “SCL” of course.
If you want, you can also add additional information below in the Additional Information compartment e.g. author, version, etc.. Now we can create the block by click OK in the dialogue.
Step 3 – Modify the block interface
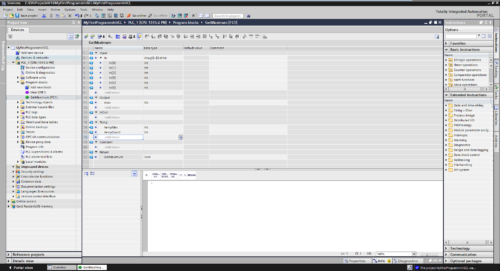
After the block is created, we can modify the Interface of the FC. In our case we will enter an input of type [Array[0..5] of INT], an output of type [INT], and two temp variables of type [INT].
Note: In a FB there is also a static section shown due capability to store data for more than the actual PLC cycle.
Step 4 – Enter SCL code
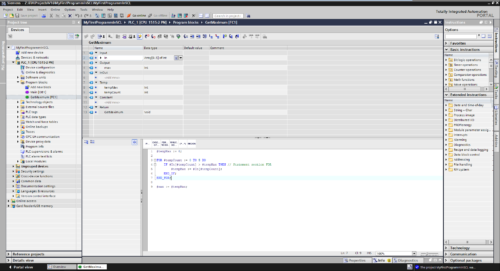
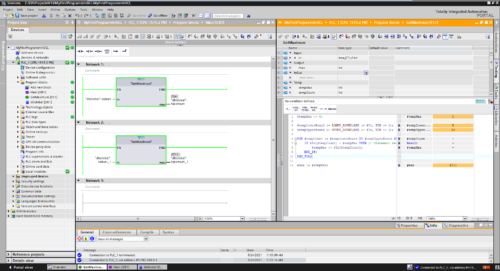
In the next step we enter the code to determine the maximum value of the array elements. The code will iterate from index zero to five through the array and compare if the actual value is greater than the “tempMax” value. At the end we will get the maximum value contained in the array.
At the line one we set the “tempMax” to a defined value. In this case zero.
In Line three we start the “FOR” loop. This will use the “tempCount” variable to store the actual index of our loop. It is set to zero for the start and will run until it has reached five. So we will run the loop for six times (0->1->2->3->4->5). The code of the “FOR” loop is encapsulated by the “FOR …” statement in line three and “END_FOR;” statement in line seven.
This code block contains an “IF” block which will only process its inner code if the statement “#In[#tempCount] > #tempMax” will return a “TRUE” and so the actual “maxTemp is smaller than the value of the array element with index of #tempCount.
Due to intellisense the TIA portal provides suggestions while typing code. Additional you have a favorite instruction list at the top of the text editor area just like in the editor of the other languages. Here you can add other instructions by drag them from the instructions tab.

Step 5 – Provide some data
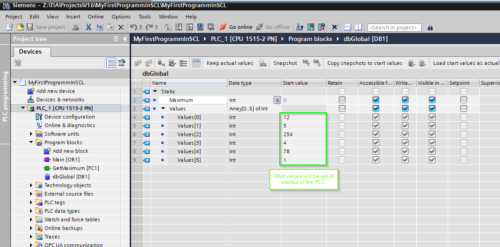
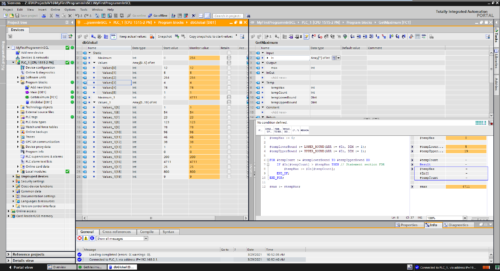
To be able to provide our program with some values we have to create a global data block [DB] to provide some data, like we did it for the FC.
We will also enter some startup data, which is provided to the global DB at Startup of the PLC.
Step 6 – Call the FC in OB1
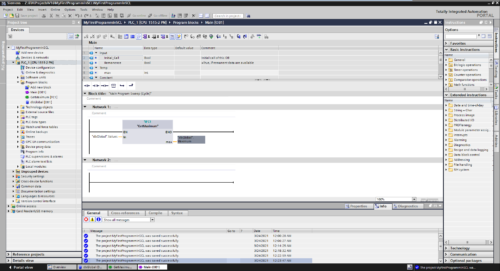
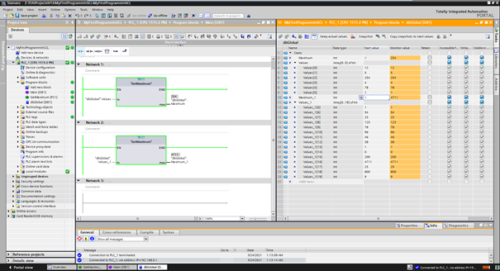
To use the FC in our PLC, we can call the block within the Main [OB1] and provide it with values from the “dbGlobal”. After we added the call, we can compile the program code and load it into our PLC or simulate it with PLCsim.
Step 7 – Testing
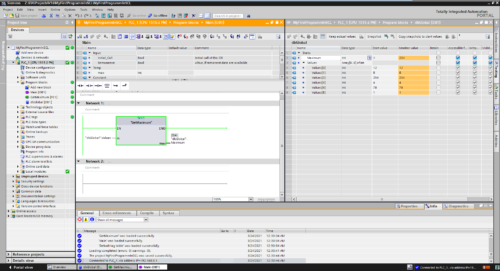
After connecting to the device (by selecting the PLC and click “go online”) and activate observe mode in the blocks, we can check the behavior of our program.
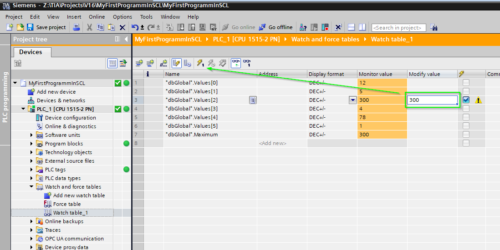
We can create a watch table to observe and modify values to test our code. Enter in the column “Modify value” a new value to set and click on the set button in the tool bar. The new value will be set into the variable and the code will process with the new values.
Note: Keep in mind a variable which is set by the PLC program will overwrite the manual set value at every new cycle.
You can modify the display format to e.g. show a variable in hex or binary notation like 16#09 or 2#0000 1001. So it is easier to read e.g. “status words”.
Step 8 – More generic approach
At the block interface it is possible to define the input array with variable limits to offer better reusability for blocks with arrays of different length. Here for we have to adapt the interface at the FC and add code to determine the lower and upper bound of the array. It is also able to do this with multidimensional arrays.
Note: Keep in mind this feature is only available in the newer PLCs (1200/1500).
Pros and cons
| Pro | Con |
| Easy to write complex code | Hard to track signal sequences (reason why it is not used for failsafe PLC coding) |
| Good for mass operations | Bad logically overview |
| Easy programming of switch case | Sometimes hard to read |
Note: You are free to use the programming language of choice which fits best to your needs. In previous courses we saw using SCL networks within FBD code. E.g. program complex code in an SCL Block and interlocking section of Outputs in an FBD Block.
Some other hints
To get an overview over the available commands in the different languages, there is a document from SIEMENS online support which helps me a lot.
Written by Michael Elting
Mechatronics & Automation Engineer and Freelance Writer
Have a question? Join our community of pros to take part in the discussion! You'll also find all of our automation courses at TheAutomationSchool.com.
Sponsor and Advertise: Get your product or service in front of our 75K followers while also supporting independent automation journalism by sponsoring or advertising with us! Learn more in our Media Guide here, or contact us using this form.
- S7 PLCsim Advanced - July 20, 2021
- S7 PLCsim - July 19, 2021
- TIA Portal, S7 – Writing your first SCL Code in TIA Portal - April 28, 2021

Discover more from The Automation Blog
Subscribe to get the latest posts sent to your email.


