
In today’s article I walk you through how to find, download, install, use, and update Rockwell’s free Integrated Architecture Builder (IAB) software.
UPDATE – June, 2022: Rockwell made some changes to their website and I documented the new procedure to download IAB in the below article:
– How To Download Rockwell’s Integrated Architecture Builder (2022)
(The above new article replaces steps 1 – 5 below)
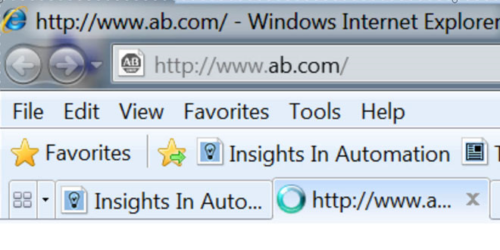
1) Start by navigating your web browser to http://www.ab.com:
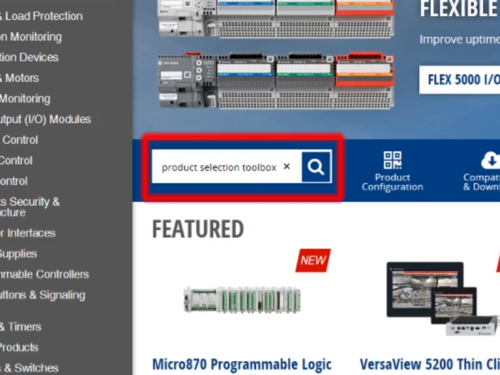
 2) Once there, search on “Product Selection Toolbox”:
 2) Once there, search on “Product Selection Toolbox”:
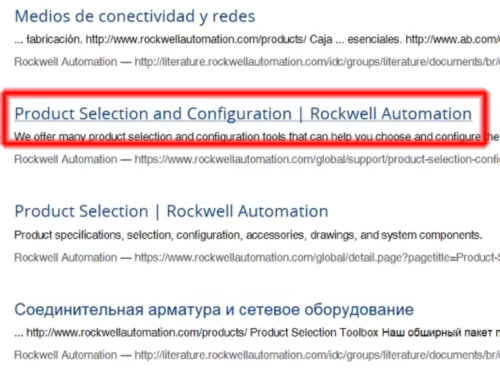
 3) From the search results select “Product Selection and Configuration”:
 3) From the search results select “Product Selection and Configuration”:
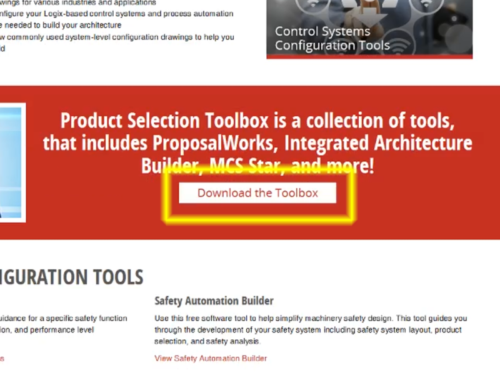
 4) Then click on the “Download the Toolbox” button:
 4) Then click on the “Download the Toolbox” button:
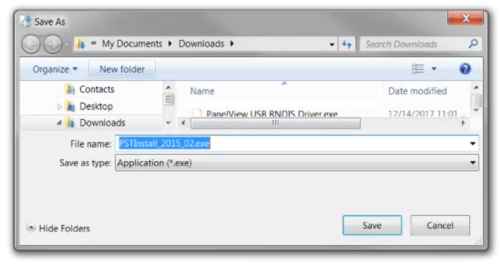
 5) At this point you’ll be prompted to save/download the PST install file.
 5) At this point you’ll be prompted to save/download the PST install file.
Once it completely downloads, open and run it:
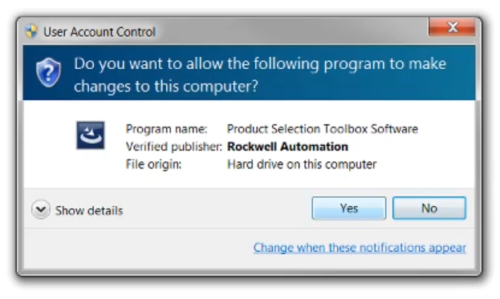
 6) If you receive this “UAC” prompt, click on Yes to continue:
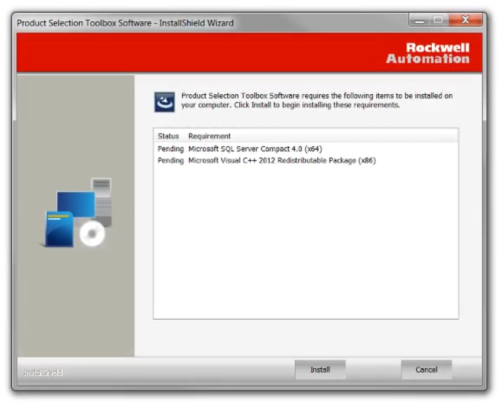
 7) Now click on “Install” to load any required prerequisite software:
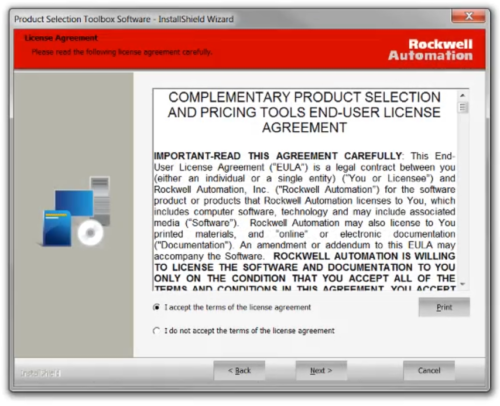
 8) After the prerequisites install, you’ll need to step through a few more pages to accept the license agreement, choose a locale, choose a language, enter you name and company, and choose an install directory:
 9) Then you’ll need to choose which Toolbox software packages you want to install. Check to be sure “Integrated Architecture Builder” is checked, and then select “Next”:
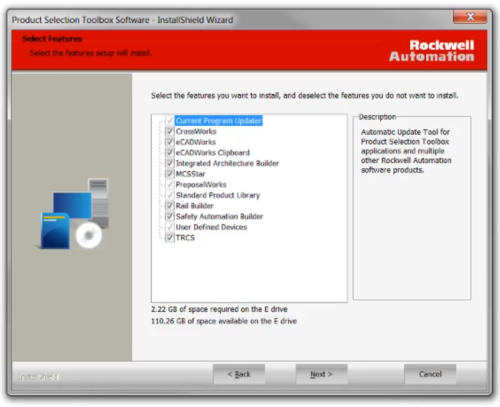 10) Finally, click on the “Install” button to install the software you selected:
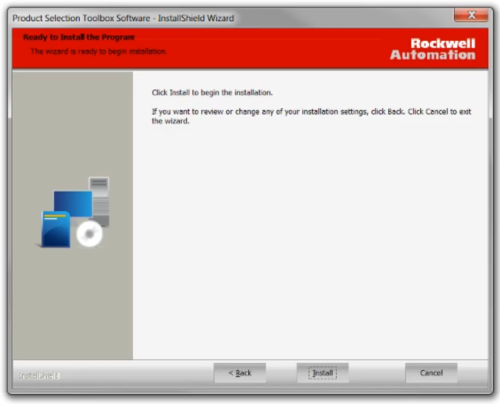 11) Once IAB finishes installing, go ahead and launch it. When it opens it should look something like this:
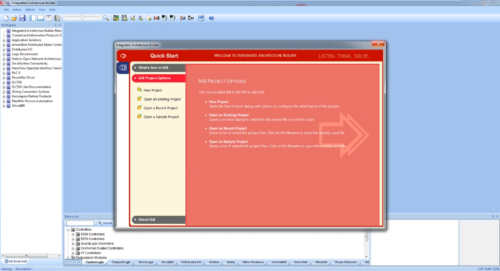 12) IAB includes many different Wizards to assist you in creating a system, but if you’d like to quickly create a system from scratch, first select “File” and “New” from the menu:
 13) Next, select “Blank” from the list on the left, give your workspace a name on the right, and then click on OK:
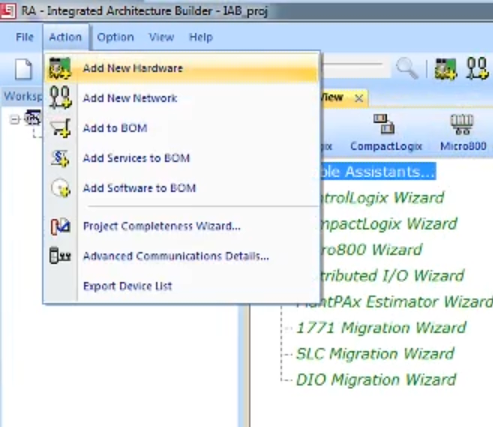
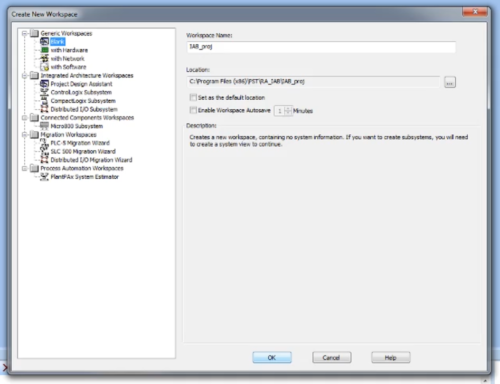 14) After your new blank workspace opens, select “Action” and “Add New Hardware” from the menu:
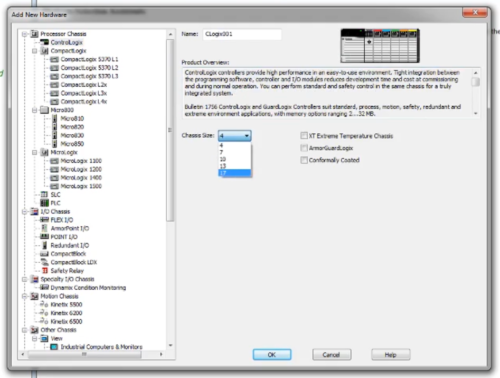
 15) Here you select a hardware platform from the list on the left, then make any required selections to the right before clicking on OK.
Note: Below I chose “ControlLogix” and a chassis size of “17”:
 16) Once your new workspace loads, you’ll see the hardware you selected in the previous step. You’ll also see a list of hardware directly below it:
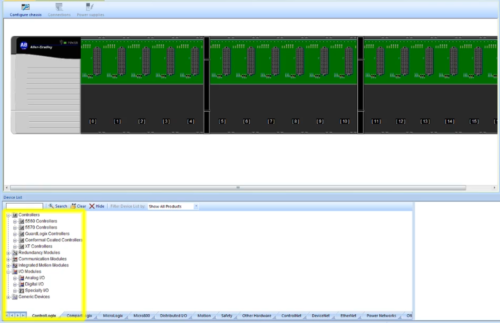 17) In this example, to add 1756 modules to my 1756 chassis, I simply find those modules in the hardware list below, and then drag them to the chassis slot I want to put them in.
18) If you can’t find a new or current product in the list, you’ll likely need to update IAB to gain access to those products.
To get an updated version, first close IAB, then run Rockwell’s “Current Program Updater” and click on “Check For Updates”:
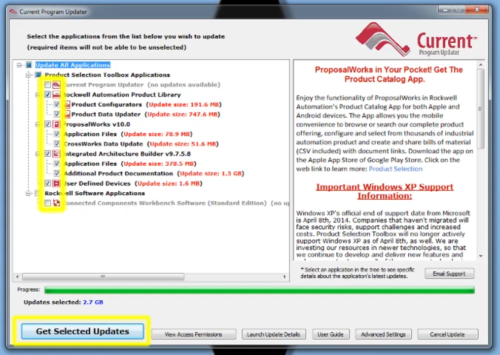
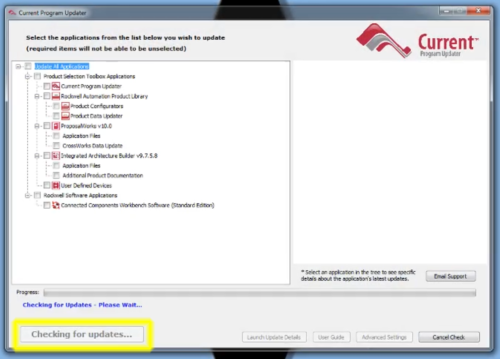 19) Once the Current Updater is done checking for updates, the product list will be updated to show which of your installed PST software has updates available.
You’ll also have the option to choose which of the available updates you’d like to download and install:
20) After you’ve selected the packages you’d like to update, click on the “Get Selected Updates” button, and you updates will be downloaded and installed.
To watch a video of the above, check out Episode 50 of The Automation Minute Season Four below:
If you found this article helpful, please consider sharing it with your colleagues.
Until next time, Peace ✌️
If you enjoyed this content, please give it a Like, and consider Sharing a link to it as that is the best way for us to grow our audience, which in turn allows us to produce more content 🙂
Shawn M Tierney
Technology Enthusiast & Content Creator
Support our work and gain access to hundreds members only articles and videos by becoming a member at The Automation Blog or on YouTube. You’ll also find all of my affordable PLC, HMI, and SCADA courses at TheAutomationSchool.com.
- FactoryTalk Design Workbench First Look, CCW Comparison - December 19, 2025
- Drew Allen of Grace Technologies on Automation, Safety, and More (P256) - December 17, 2025
- Robotics in Warehouse Automation with Erik Nieves of Plus One Robotics (P255) - December 10, 2025

Discover more from The Automation Blog
Subscribe to get the latest posts sent to your email.




Sadly they no longer seem to offer a download file for this.
Try this link Phil:
https://www.rockwellautomation.com/en-us/support/product/product-selection-configuration/integrated-architecture-builder.html
Shawn
[sc name="stsigcom"]